To do the customization for Dynamics CRM 365 and to add new forms with functionality we need to install nuget in visual studio. Previously we used to download the CRM SDK for development.
Now its not the same for 365.
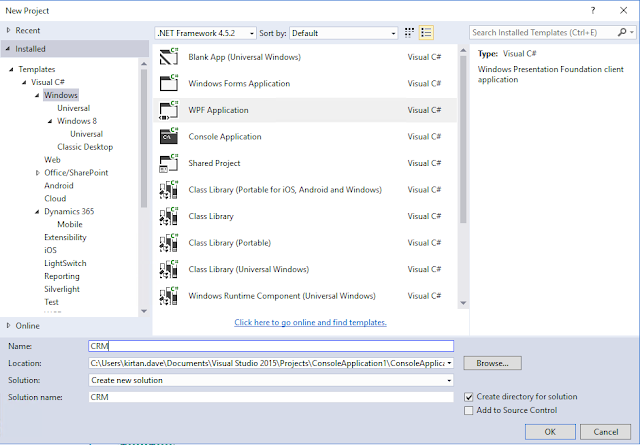
For this tutorial. Create a new project where you will be adding your code and customization.
I am creating a WPF application for this scenario.
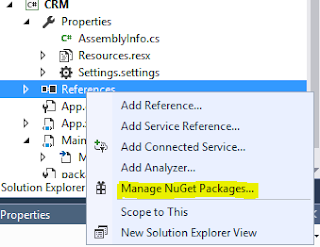
Once the project is created, go to "References" node and right click. And click on "Manage NuGet Packages". New window will be opened.
Search for "Microsoft.CrmSdk.CoreAssemblies v9.0.2.4" and "Microsoft.CrmSdk.CoreAssemblies v9.0.2.4" these are the main assemblies i am using for my example. You can search for other as well and click on install.
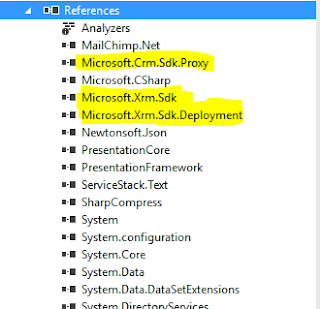
Once you do the installation. system will ask you to confirm and once you do that you will be able to use the library in your code.You can see the newly added library to "References" node.
Happy D365.


Comments
Post a Comment